Creating a Marine Picture
By Peter Hayton
Getting the pictures for the paintings.
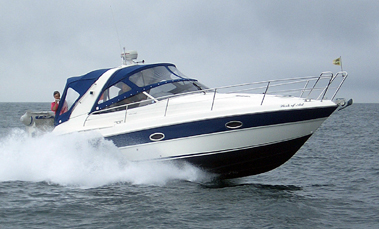
Peter and his wife Anne spend a lot of time on the water amongst the boating fraternity taking photos of various boats in action. In Peter’s words, “You need to be able to see the wave patterns when a boat travels through the water, each boat hull has its own wave pattern and the customer knows their boat better than any one else. The customers love to have paintings of their boats in action, not sat at anchor or on a mooring” . Seen on the right is Peter and Anne on their boat ‘ Work of Art’ a Bavaria Motor Boat 29 Sport .”We chose this type of boat for its nimble maneuverability at speed and its 34 knots capability” says Peter, “you need to be able to get around your subject with ease, without causing any problems to the vessel you are photographing”, Anne can be seen at the back of our boat photographing in the Alderney Race in the Channel Islands, for the next painting “we were traveling at 29 knots, at the time, in a sea with a swell, in a force 2-3” remarked Anne, not the easiest of tasks!!
To view photos taken by Anne & Peter look at our sister site Work of Art Marine Images.
Starting the Painting
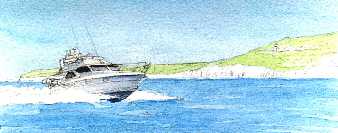
Initially the painting is started with a loose pencil drawing followed by the application of masking fluid to protect the white areas from over-wash by the first washes in blue and green. These are the lightest colours that will form the background. next the first washes in the boat are applied. In watercolour paintings the colours are applied light to dark.
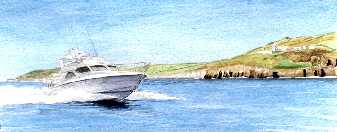 The next stage in the painting is to start building up some of the shadow and background colours for the cliffs and the initial detail and shadows around the boat. It is also at this stage that the pencil sketch is rubbed out with a putty rubber.
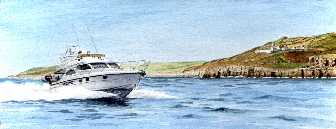 Now the build-up. The first details in the cliffs and the boat are started, more shadow work is implemented and the first of the waves start to build up. This is the time when the painting starts to take on the the feeling and movement that is needed to make it come alive.
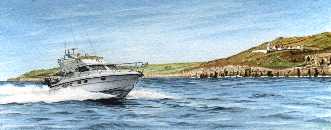 The finer details are now applied, the first of the fussy bits and the build up of the sea. More and more wash layers are applied to the sea and sky to give it the feeling of depth and distance. More shadow in the waves and boat to create the Three-D effect that gives you the feeling of being part of the picture.
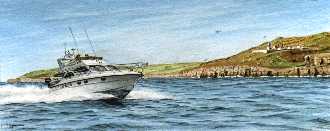 The final details are now put in, a little more shadowing in the spray-wash from the boats hull, the lighthouse on the cliffs and the rocks, the crevasses in the cliffs, more waves and shadow, finer detail on the slopes above the cliffs, the people on the fly-bridge of the boat and finally the birds, the artists little trademark, three seagulls sometimes fairly well hidden.
I do hope that this has given a little insight into the painting and intense fun of creating a picture in miniature watercolour, it can become an almost fanatical thing if you let it, every detail must be in, or the customer will notice. People love their boats and it is up to the marine artist to do their very best to supply a lasting memory for the future.
